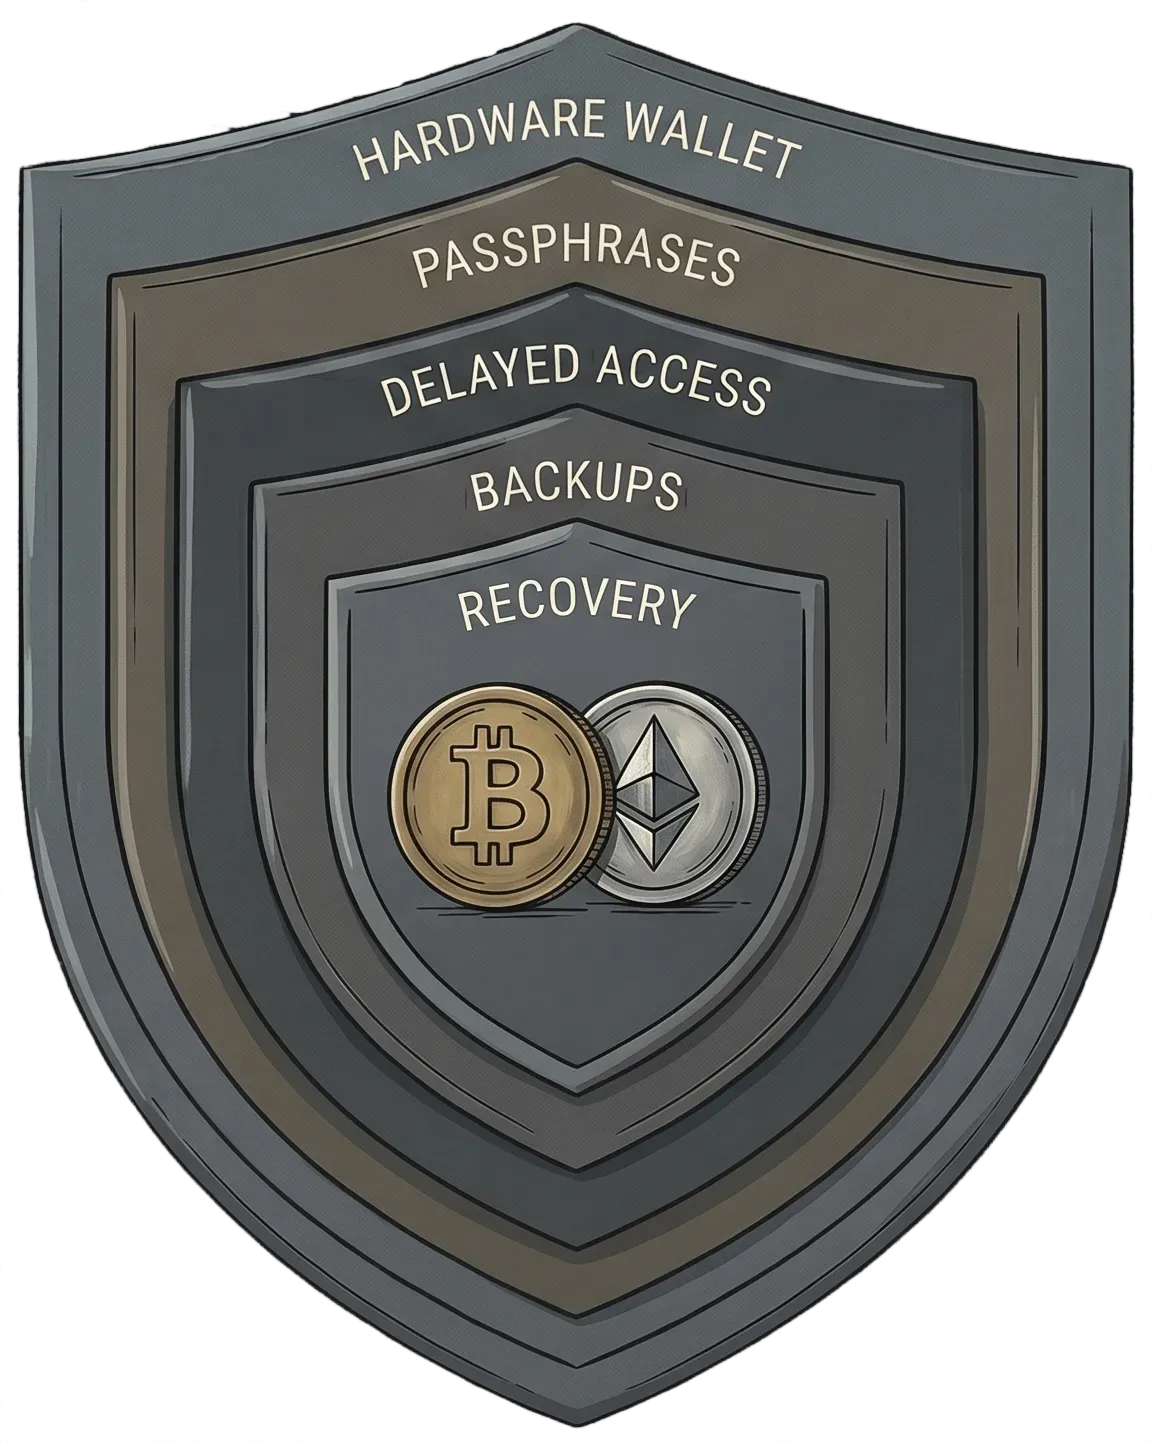
Documented physical attacks against crypto holders are increasing. Gart Stats lists 44 crypto-related physical attacks in 2024, 81 in 2025, and 36 already recorded in 2026 as of early May. Home invasions alone account for 10 cases in 2024, 13 in 2025, and 14 so far in 2026. These are documented cases only, so the real number may be higher.
Self-custody also creates physical risk. Data leaks, public on-chain balances, and careless disclosure can make a holder identifiable. If attackers believe you can move funds immediately, coercion becomes more attractive.
This article describes one possible security setup for individual cryptocurrency investors, without having to rely on a traditional multi-party multisig setup.
Warning
This is not a universal custody blueprint or a personal-safety plan. If you are threatened, your safety matters more than asset protection. This setup may not be a good fit due to the complexity it adds, or it may need to be adapted to your personal situation. It does not make coercion impossible, and it does not guarantee that attackers will believe or accept the delay. It only reduces the value of immediate coercion by making most funds inaccessible without waiting.
Goals
- Add a layer of protection from the so-called ‘wrench attack’, i.e. physical coercion, home invasion, or kidnapping.
- Have fallback recovery options for the majority of the funds if you lose access to your keys or if the main access process fails.
- Make it harder for hackers to steal your assets.
- Keep the ability to react to market changes relatively quickly (less than a day), for part of the portfolio.
- Keep the ability to use DeFi protocols.
- Note the setup for future reference and inheritance
- Ultimately, more peace of mind.
Who is it for?
Individual investors who hold enough value to feel targeted but do not have enterprise-grade solutions available.
Main principles
The main idea is to delay access to the majority of the funds. If someone threatens you, you can truthfully explain that you do not have immediate access to most wallets.
Warning
This may reduce the attacker’s incentive, but it is not a guarantee. They may still force you to start an unlock, search for backups, wait, escalate, or target other people.
The delay is enforced by the combination of a timed-release file decryption application like Timelocked and BIP-39 passphrases (“25th word”).
This setup separates funds into four places, using one base seed phrase and one separate recovery seed:
no-delaysigner wallet - same seed phrase, no passphrase, holds ~2% of your funds for urgent spending.low-delaysigner wallet - same seed phrase with a passphrase accessible after 12 hours, holds ~10% of your funds so you can react to the market.high-delaysigner wallet - same seed phrase with a 7-day passphrase, holds ~8% of your funds directly and controls the Safe account.high-delay-safeSafe account - a smart-contract account, holds ~80% of your funds, and can be recovered by a separate recovery wallet after a Safe recovery delay.
Note
These percentages are only an example. The important split is immediate liquidity, short-delay liquidity, and long-delay storage.
The Safe account is not another seed-derived wallet. It is a smart-contract account whose signer is an eth address controled by the high-delay wallet.
A separate recovery wallet, with a different seed phrase, is also needed. It should not hold the main portfolio. Its job is to recover the Safe account if the main signer is lost or permanently inaccessible.
The delay mechanism protects the passphrases, not the base seed phrase itself. The seed phrase must still be stored securely. If someone gets both the seed phrase and a clear-text passphrase, they can spend from that wallet.
The delay is enforced by timelocking hard-to-memorize passphrases like sx#TFd3MHCfdtpb4, for each delayed wallet. So in order to access the 12-hour wallet for example, you need to:
- get the timelocked file from one of your backups (more on that below)
- start the unlocking process using the Timelocked app, ideally on a computer without internet access.
- wait ~12 hours
- write down the clear-text passphrase on a piece of paper
- close Timelocked
- unlock access using your hardware wallet using the ‘temporary’ passphrase option
- sign transactions
- unplug the hardware wallet, the same exact passphrase will need to be entered again next time
- make sure to destroy the piece of paper, so you have to restart the waiting phase next time
Why not social or multi-party multisig?
Multisig is a strong and widely used custody model. It may be a better choice if you can reliably manage multiple devices, locations, or signers.
This article focuses on a different tradeoff: delayed access from one main seed phrase, plus Safe recovery for the largest wallet. It avoids relying on other people for routine access and can reduce how much others know about your holdings or transactions.
If you already have a well-tested self-custody multisig setup, this article is not arguing that you should replace it.
Why not a duress PIN?
Some hardware wallets let you set up a secondary PIN that acts as a decoy because it opens access to addresses with little funds. In this case, you will have to convincingly lie under stress, or omit information in the best case scenario. You will have to regularly delete traces of your main accounts on your computer, for example in applications like Ledger Live. Also, attackers may be well prepared and know about this possibility, or worse, knowledgeable about the amount of cryptocurrency you hold, due to data leaks.
Why 12 hours and 7 days?
You may adapt those delays to favor either more perceived security or more convenience.
Timelocked delays are estimates, not universal wall-clock guarantees. Unlock time depends on the hardware profile chosen when the file is locked, the actual device used to unlock it, and future hardware improvements. A 12h file created for one hardware profile may unlock faster or slower on another machine.
Record the chosen delay, hardware profile, Timelocked version, and test device in your notes. Before relying on the setup, test the unlock on hardware similar to what you expect to use in an emergency.
For the long delay, you may put yourself in the position of a kidnapper who may not have anticipated the logistics required to wait as long as X days. Maybe 2-3 days is manageable risk-wise? But waiting 15 days may seem clearly impossible. The longer the wait, the greater the risk that the police may find them. The short delay may be chosen to deter home invasion only, using the same thought experiment.
About Safe{Wallet}
Safe{Wallet} is a smart account (wallet as a smart contract) solution on the Ethereum ecosystem. It can be controlled by one or more signer wallets, and can be configured with recovery rules.
In this setup, Safe{Wallet} is used so a separate recovery wallet can recover control of the Safe account after a delay. This helps if the main signer is lost, damaged, permanently inaccessible, or if passphrases become unrecoverable after all the backups and the integrated curruption recovery mechanism of the Timelocked files failed.
Safe wallet can only hold assets from the ethereum ecosystem. It does not work with native Bitcoin. However BTC can be wrapped in WBTC, if you accept bridge, custody, and smart-contract risk. Otherwise, the base high-delay wallet can be used to store native BTC.
What is needed beforehand?
- A hardware wallet (Ledger, Trezor, etc.).
- Timelocked application.
- A separate recovery wallet with its own seed phrase. It can be stored on another hardware wallet you pocess, be holded by someone of trust, or you can just keep the seed phrase somewhere safe.
- Accept that you may not react as quickly to market movements, which may be a ‘feature’ rather than a ‘problem’ depending on your profile.
- For backups, you can choose between: a USB drive, a printer, secure backup service, password manager, a place to securely store them (safe, vault, etc.), maybe tamper-evident bags or seals.
How to set up?
1. Choose and write down the wallet table
By signer wallet, we mean the list of cryptocurrency addresses that a 12 or 24-word seed phrase plus optional “25th word” passphrase can access. Each different passphrase opens a whole new set of possible wallet addresses. A Safe account is different: it is a smart-contract account controlled by one or more signer wallets and recovery rules.
In your notes, write the list of wallets and accounts you plan to set up. It will serve as setup guidance and future reference.
| Name | Type | Holding % | Access path | Recovery option |
|---|---|---|---|---|
| no-delay | signer wallet | 2 | base seed phrase only | - |
| low-delay | signer wallet | 10 | base seed phrase + 12h passphrase | - |
| high-delay | signer wallet | 8 | base seed phrase + 7d passphrase | - |
| high-delay-safe | Safe account | 80 | high-delay-eth signer after 7d unlock | 30-day Safe{Wallet} recovery process |
Note
You may choose to also set up a Safe{Wallet} address for the 12h wallet. It may add additional cognitive load to manage one supplementary address, but it will also allow recovery for this wallet.
2. Create signer wallets
The three signer wallets (not the Safe account) will share the same seed phrase and the same hardware wallet PIN. Entering the passphrase is what allows you to switch between wallets.
Note
Passphrases must not be stored or attached to a hardware-wallet PIN, but set as ‘temporary’.
- Use your hardware wallet to generate a new seed phrase and its associated wallet. It will be the
no-delaywallet - Note and securely store the seed phrase with any recommended methods of your choice
- Generate and note on a piece of paper two hard-to-memorize passwords (e.g.
sx#TFd3MHCfdtpb4) to be used as passphrases. You can use a password manager’s generator on an offline computer for maximum peace of mind.
3. Test and note account public addresses
Before sending funds, generate a BTC / ETH address for each wallet, using the noted passphrase. For each delayed wallet, enter its corresponding passphrase temporarily and verify the derived addresses. To help with management, name them in your hardware wallet UI. Note each address, for example:
no-delay-btc: bc1q5gkdub...no-delay-eth: 0xE53AF124...low-delay-btc: bc1qs94jfi...low-delay-eth: 0x3AB63EE9...high-delay-btc: bc1q46heop...high-delay-eth: 0x734A3FF1...
Now retry each passphrase and ensure that you can find the same addresses as noted.
4. Timelock passphrases
Open the Timelocked app and choose ‘lock message’. Enter the low-delay passphrase, choose 12h delay and a high-end hardware profile to create low-delay-passphrase.timelock (or other filename of your choice). Do the same for high-delay-passphrase.timelock. Triple check that you entered the correct characters.
You may directly ‘verify’ each timelocked file using the Timelocked app.
For maximum peace of mind, it is strongly recommended to test the unlocking of each file before going further, ideally on hardware similar to what you expect to use later. Once unlocked, check again that the unlocked passphrase matches the one noted on paper.
5. Set up Safe{Wallet}
Now that the addresses and passphrases are validated, create a 1:1 Safe{Wallet} account using high-delay-eth as the only signer.
Then enable Safe recovery:
- use the separate recovery wallet as the recoverer
- choose the recovery review window, for example 90 days
- record the network, Safe address, recoverer address, review window, expiry setting, and recovery module details in your notes
Warning
Before moving significant funds, test the Safe setup with a small amount. You should understand how to initiate, cancel, and execute a recovery. You should also verify that the assets and networks you plan to use are supported by Safe.
6. Back up timelocked passphrases
Here are suggested backup options. You may of course choose several of them:
The .timelock files are sensitive. Anyone who gets one can start the unlock process immediately. If they also get your seed phrase, hardware wallet, or recovery path, the waiting delay may be the only remaining protection.
Do not store timelocked passphrase files in the same place as the base seed phrase or recovery seed phrase. Treat them as separate secrets. A backup that is convenient for you may also be convenient for an attacker.
- password-protected .zip file on your computer
- stored in your password manager’s encrypted vault
- third-party secured cloud service
- stored on a long-life SLC USB drive (you may also want to set up reminders to regularly plug in the USB drive to prevent corruption, and replace the drive every 3-5 years)
- hexadecimal print on a sheet of acid-free paper, for long-term storage. Use OCR to rebuild the .timelocked file when needed.
7. Fund migration
You can now allocate your funds to each wallet. You can use any wallet to sign DeFi transactions. Withdrawing from a DeFi platform will then require you to unlock the related passphrase beforehand, hence forcing a waiting delay.
8. Cleanup
Once you feel confident the passphrases are recoverable, destroy the piece of paper where they were noted. Now, the only way to access funds is to wait for either the unlocking of the passphrases or the recovery.
9. Notes and reminders
You may want to keep notes of your setup for future reference, and set up regular reminders (for example using calendar alerts) to remember to re-read those notes.
These notes could also serve for guidance in your inheritance planning. More on that on a future article.
Changelog
As this setup is complex, this article may be updated later. Changes will be listed here.